Improvements to the Electrical Locomotive BR 103 (3054)
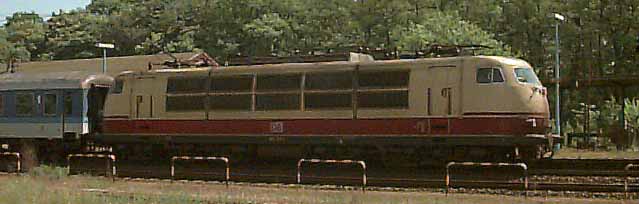
The models of the series 103, electrical express trains, are over 30 years old. But even today, the detailing is completely adequate. With a few parts, this locomotive can be improved.
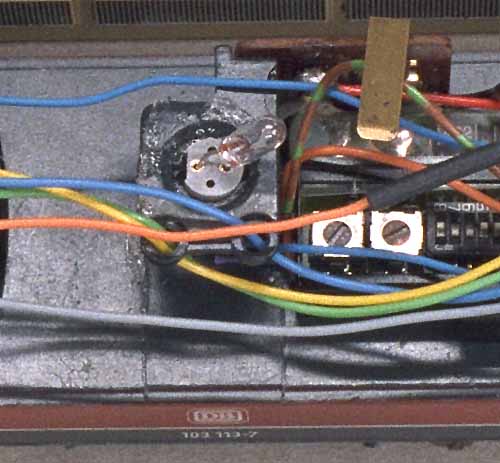
After loosening the two roof screws and removing the housing, the light sockets in the middle of the locomotive are obvious in older models. Maerklin might well have planned to illuminate the engine room or the port lights in the roof, but refrained from doing this after all. It is possible to rivet a piece of contact sheet metal for the bulb 60 01 50 to this socket, but it is simpler to press the new socket 60 41 80 into the hole. In connection with the decoders it is thus possible to connect a ground free return wire and the lights are flicker free (see also page 15: Solution with Diodes).

The addition of taillights offers a further possibility to optically improve this locomotive. The prototype does not have the taillights separately, like the 216 or the 151, but rather just has red bulbs beside the white ones in the same housing. To accomplish this with the model, red LED's need to be glued inside the locomotive, so that their light is caught and conducted well by the light conduit. The "light flow" of the white bulb should not be reduced. I bent the rear parts of the white sheet metal inserts of the engineering station cover backwards by 90 degrees to avoid pinching wires and to allow for a good fit of the housing. As visible on the photograph, I only attached one LED for the right taillight (yellow arrow). For me it is a welcome change from other locomotives, which always have two taillights. Shuttle trains are supposed to have two taillights, but the BR103 is not used for such trains. If a locomotive shunts in the BW, often there is only one taillight switched on. I painted the backside of the LED in black, since otherwise while travelling forward, a slight red glimmer can be seen in the right beam.
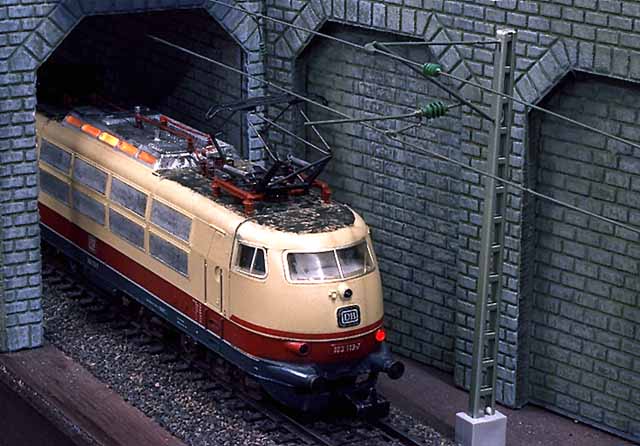
Due to the installation, the red taillight does not appear as bright as in the BR216, where the LED's are directly visible. It is possible to compensate for this, by using a lower resistor. To switch the taillights I use a 60902 decoder and some electronics. More about this can be read on page 5: BR 103 + 60902. Lastly, the locomotive was weathered by darkening the grooves of the vents with diluted black paint and also by treating the axle covers with rust and break dust. Few people realize that the roofs of electric locomotives are always quite filthy. The friction of the pantograph on the electric wire creates copper dust that gets deposited on the roof. The brushes of the washing stations never clean this area, so that the roofs remain with a dark gray patina. To get an uneven application of paint, I use a brush. The sharp contrast with the reminder of the housing shows the areas that the rotating brushes of the automatic washing stations can indeed reach.